Getting started with TRC
If you want to build a sharing economy logistic system then TRC is definitely your choice. Follow this step-by step tutorial and launch your own logistic marketplace in no more than 5 minutes!
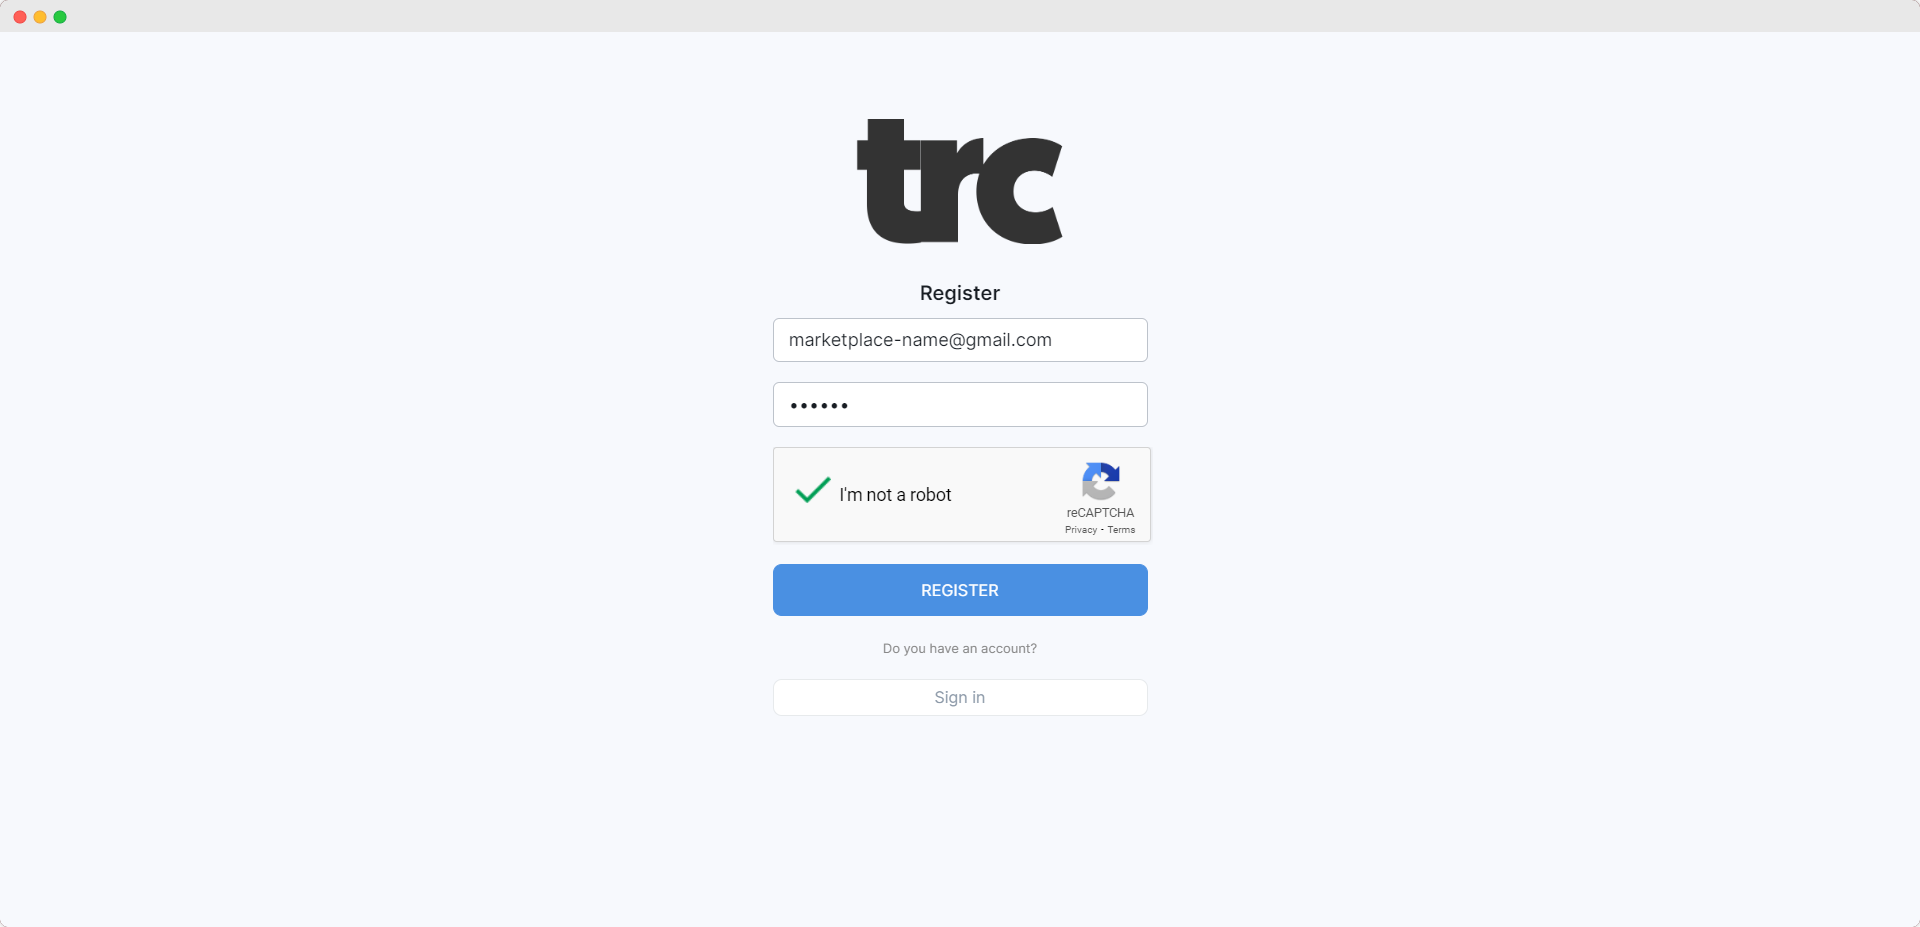
Follow the link, and fill in your email address and password
After you register an account just fill in your name, name of your business and choose a domain for your logistic marketplace.

Under this domain name, your marketplace page will be available on the Internet for all your clients. (or it will be hidden if you decide to build an internal logistic system only)
If you followed the web address you’ve just created and got a message “Your marketplace is temporarily disabled” - no worries. You should configure just a couple of additional things to make it work :)
You can adjust Trc to your needs and build different types of marketplaces: internal logistic system, external logistic system for clients and combination of both. Let’s discuss all these cases.
Internal logistic system means that only you or your employees are allowed to create delivery tasks and assign them to drivers. No people from outside your organization are allowed to request delivery orders.
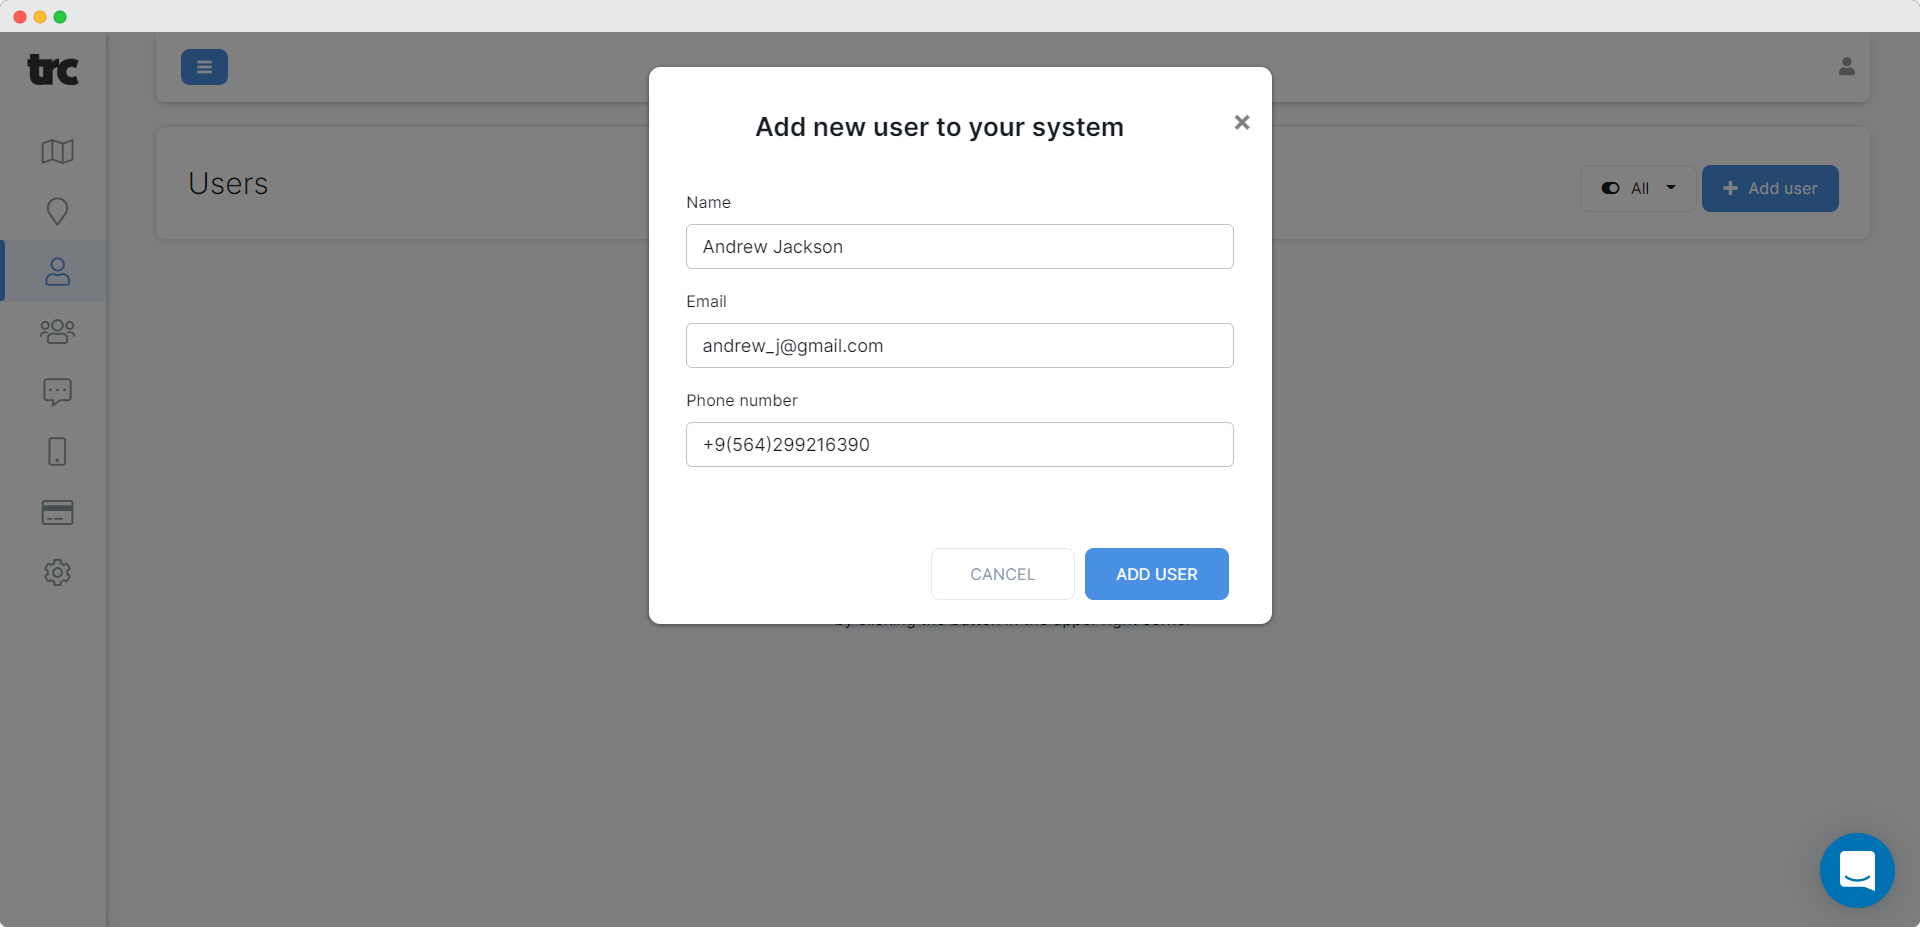
The first important step to do is to invite your main working force to the system - your drivers :) Open the “Users” section on your dashboard, click add user and fill in some basic information about your driver.
After that your driver will receive an invitation email with an access code to TRC mobile application which is extremely useful and helps drivers to manage delivery tasks. It can be downloaded from Google Play or App store by your drivers.
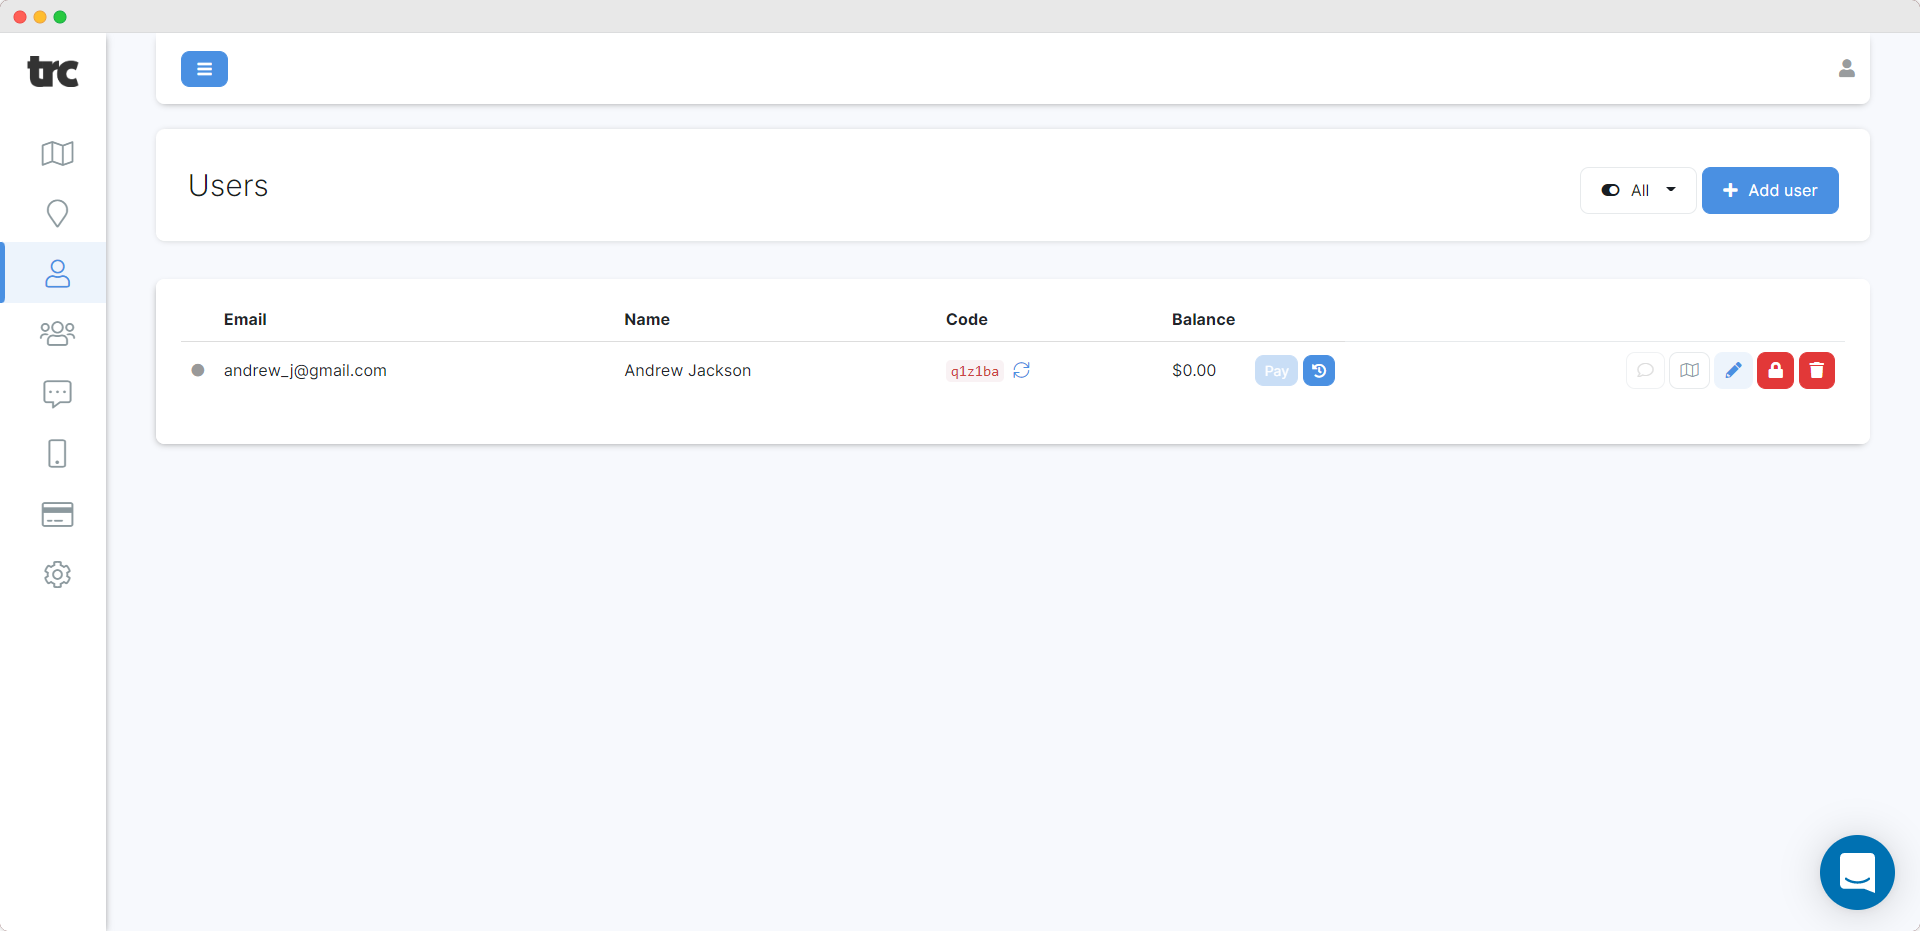
In the same section, you can see how much your drivers earned, pay out them money, block or delete them. Very easy!
Once your drivers download Trc mobile application, they become visible on the map (the very first option on the dashboard)
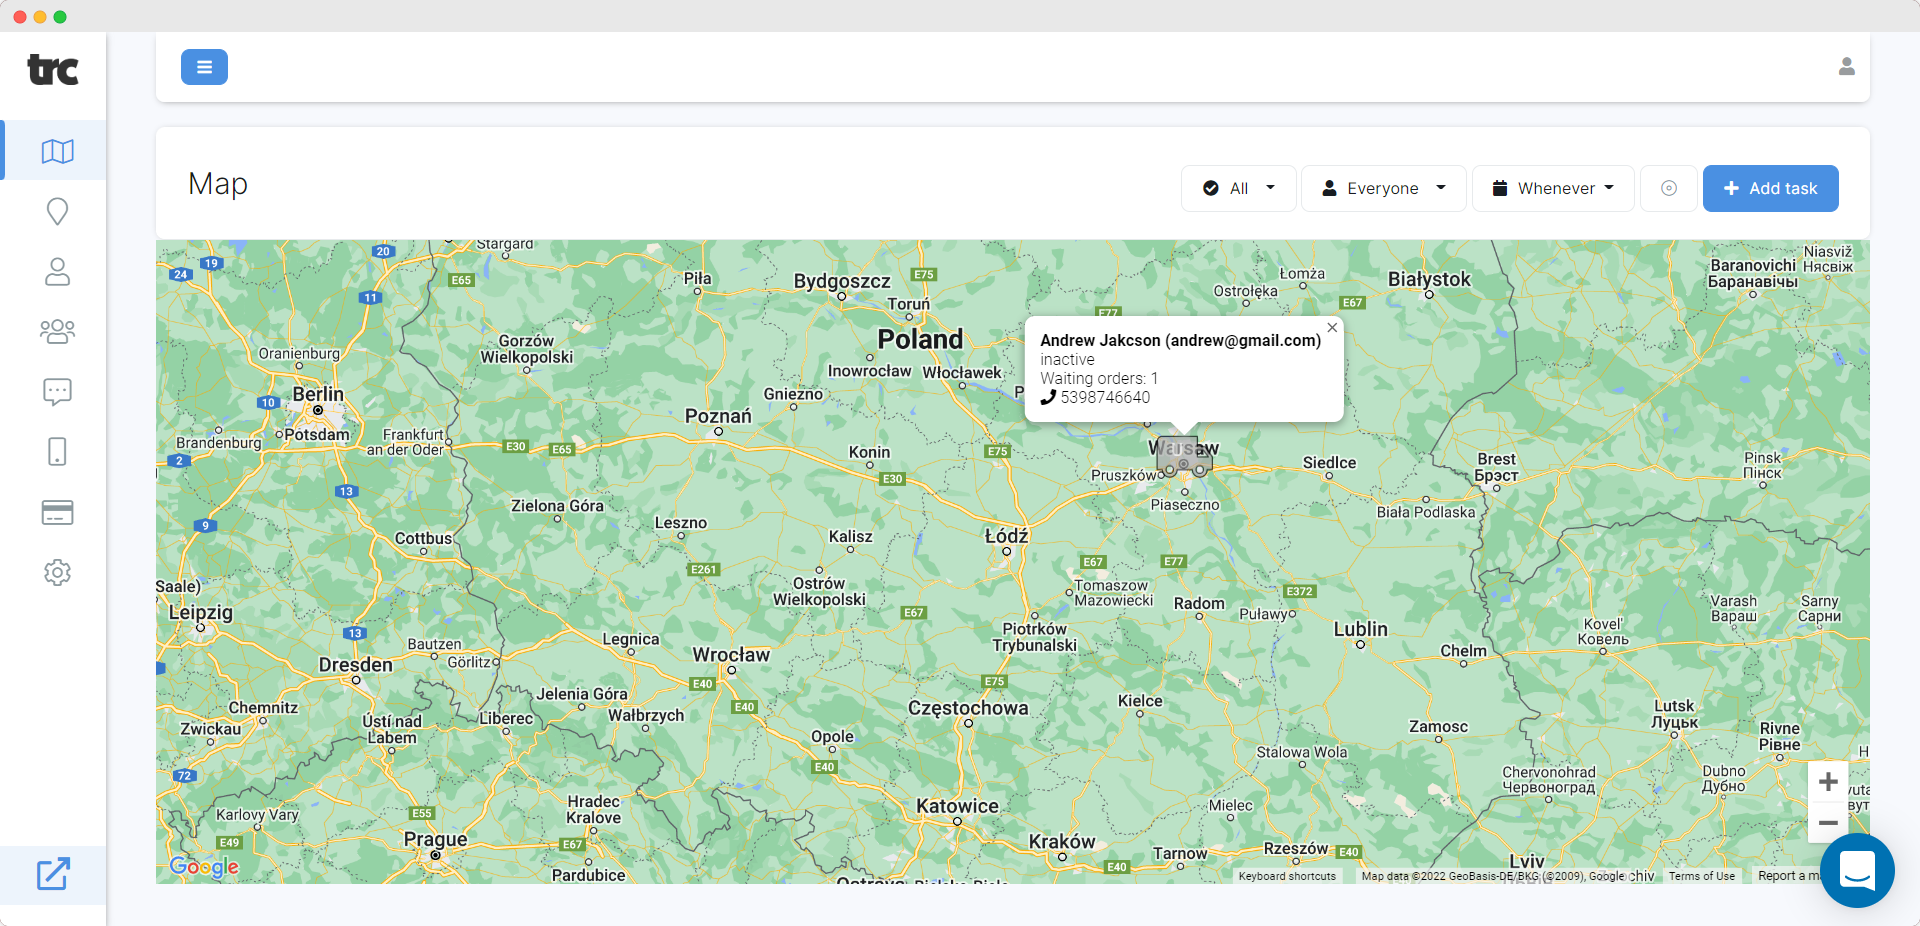
You can click the “Add task” button and assign a delivery task to any driver or let our searching algorithm find the closest driver automatically.

Just fill in all the details, assign a driver (or choose an automatic assignment) and that’s it! Your driver will immediately receive a notification in their mobile app and have some time to accept it (depending on the settings)
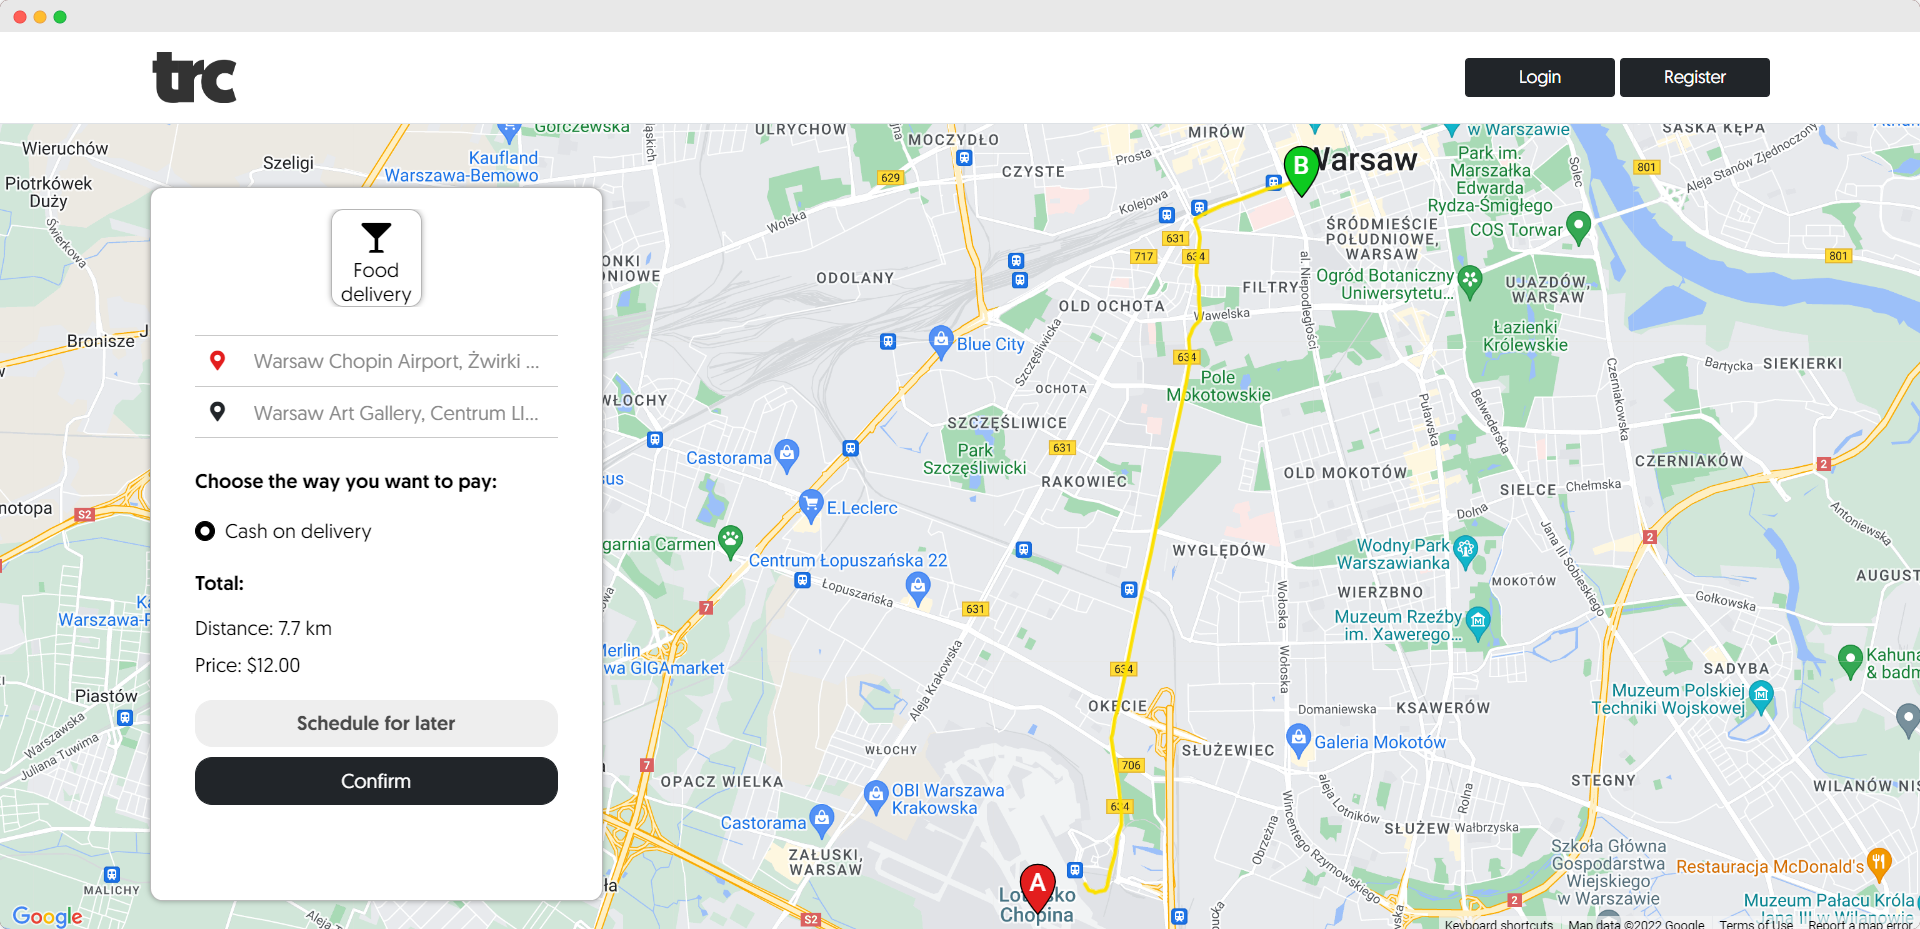
External logistic marketplace allows clients from outside your organization request delivery orders through the publicly available internet page. Remember, we created a web address of your marketplace at the very beginning? It is the right time to start using it :)
Before you launch your external logistic marketplace, you need to define the range of logistic activities you want to undertake. For instance, you can provide Taxi services to people and become your local Uber. In addition, you can take food delivery orders for example. That’s why we need to create delivery categories in the very first step.
Go to the settings on the very bottom of your dashboard, choose categories tab and click add category button. Also do not forget to click “Auto pricing” checkbox.
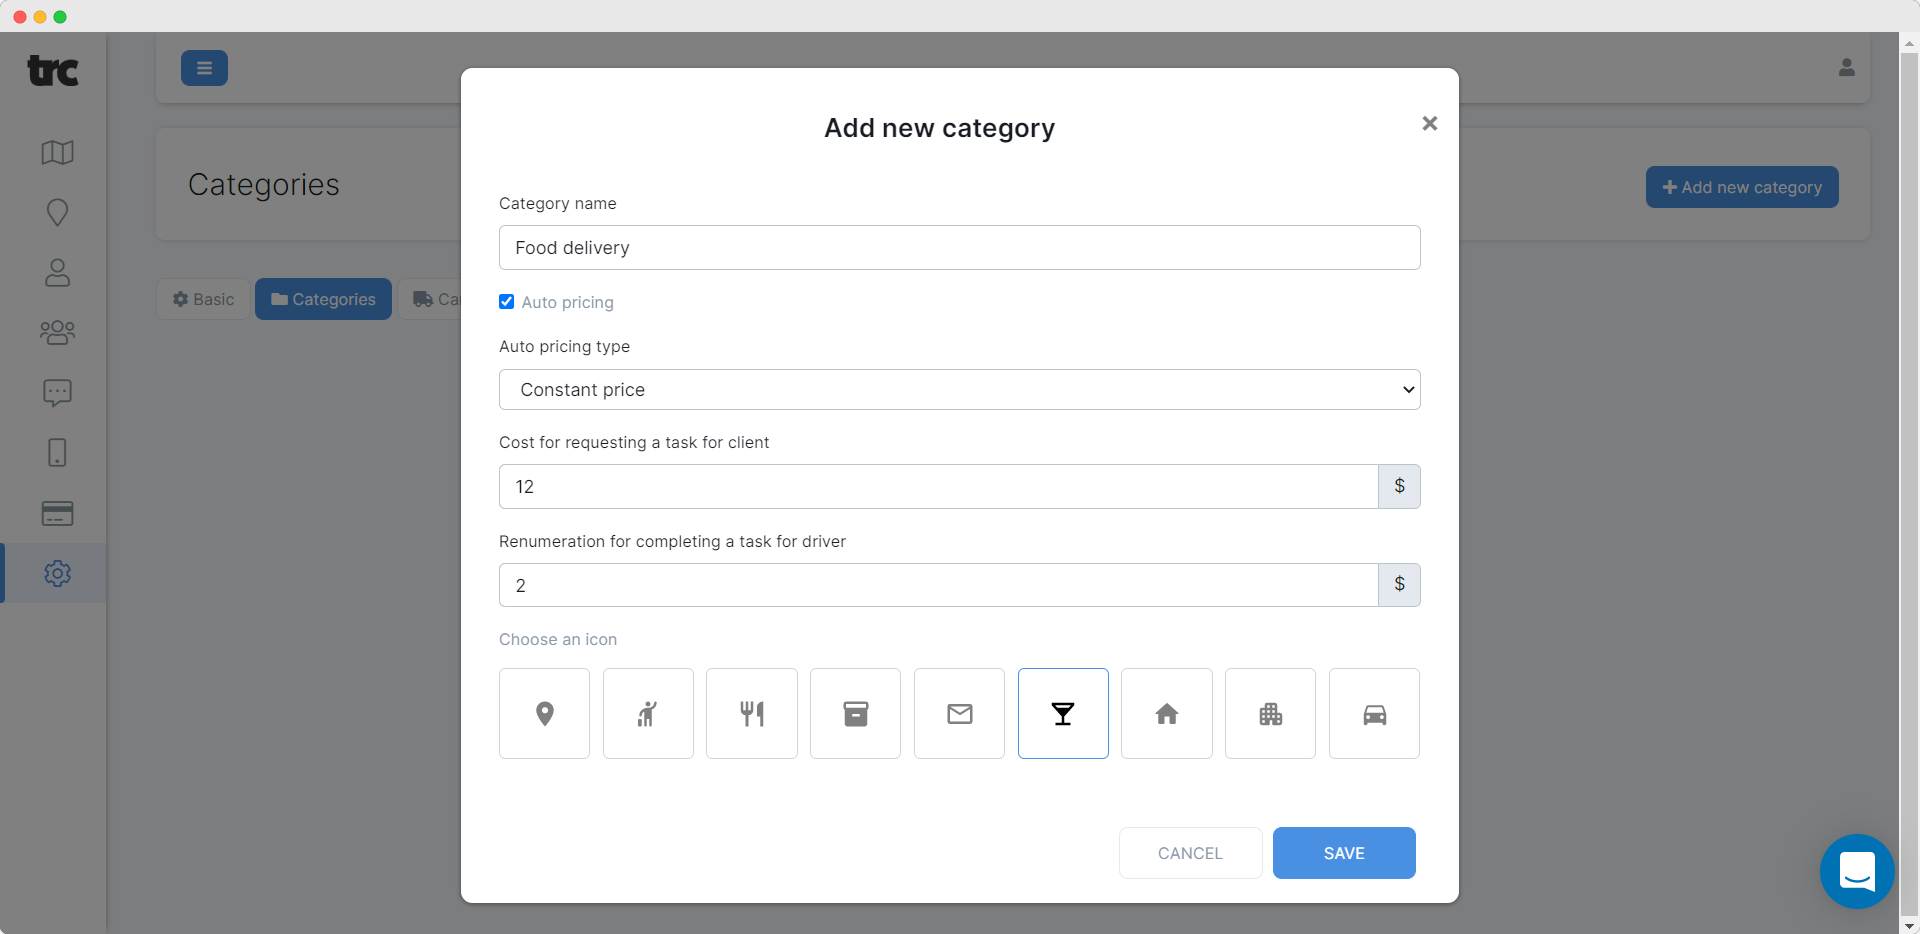
Let’s put here a name “Taxi” for example. After that you need to choose your auto pricing strategy. Auto pricing is something that helps our system to calculate how much the delivery order from your client is worth.
- Constant price (every task will cost exactly the same. No matter how far the delivery point is). Just put here the cost for a client and remuneration for a driver. For example, the cost for a client will be 100$ for every requested task and remuneration for a driver 70$. The difference is yours :)
- Pricing based on distance per one kilometer. In this case, put how much every from starting point to finish is worth. For example, if you put here cost for client 3$ and remuneration for driver 2$ and the distance between two points is 50 km - delivery task will worth 150$ for a client and driver will get 100$ for completing it. The difference again is yours.
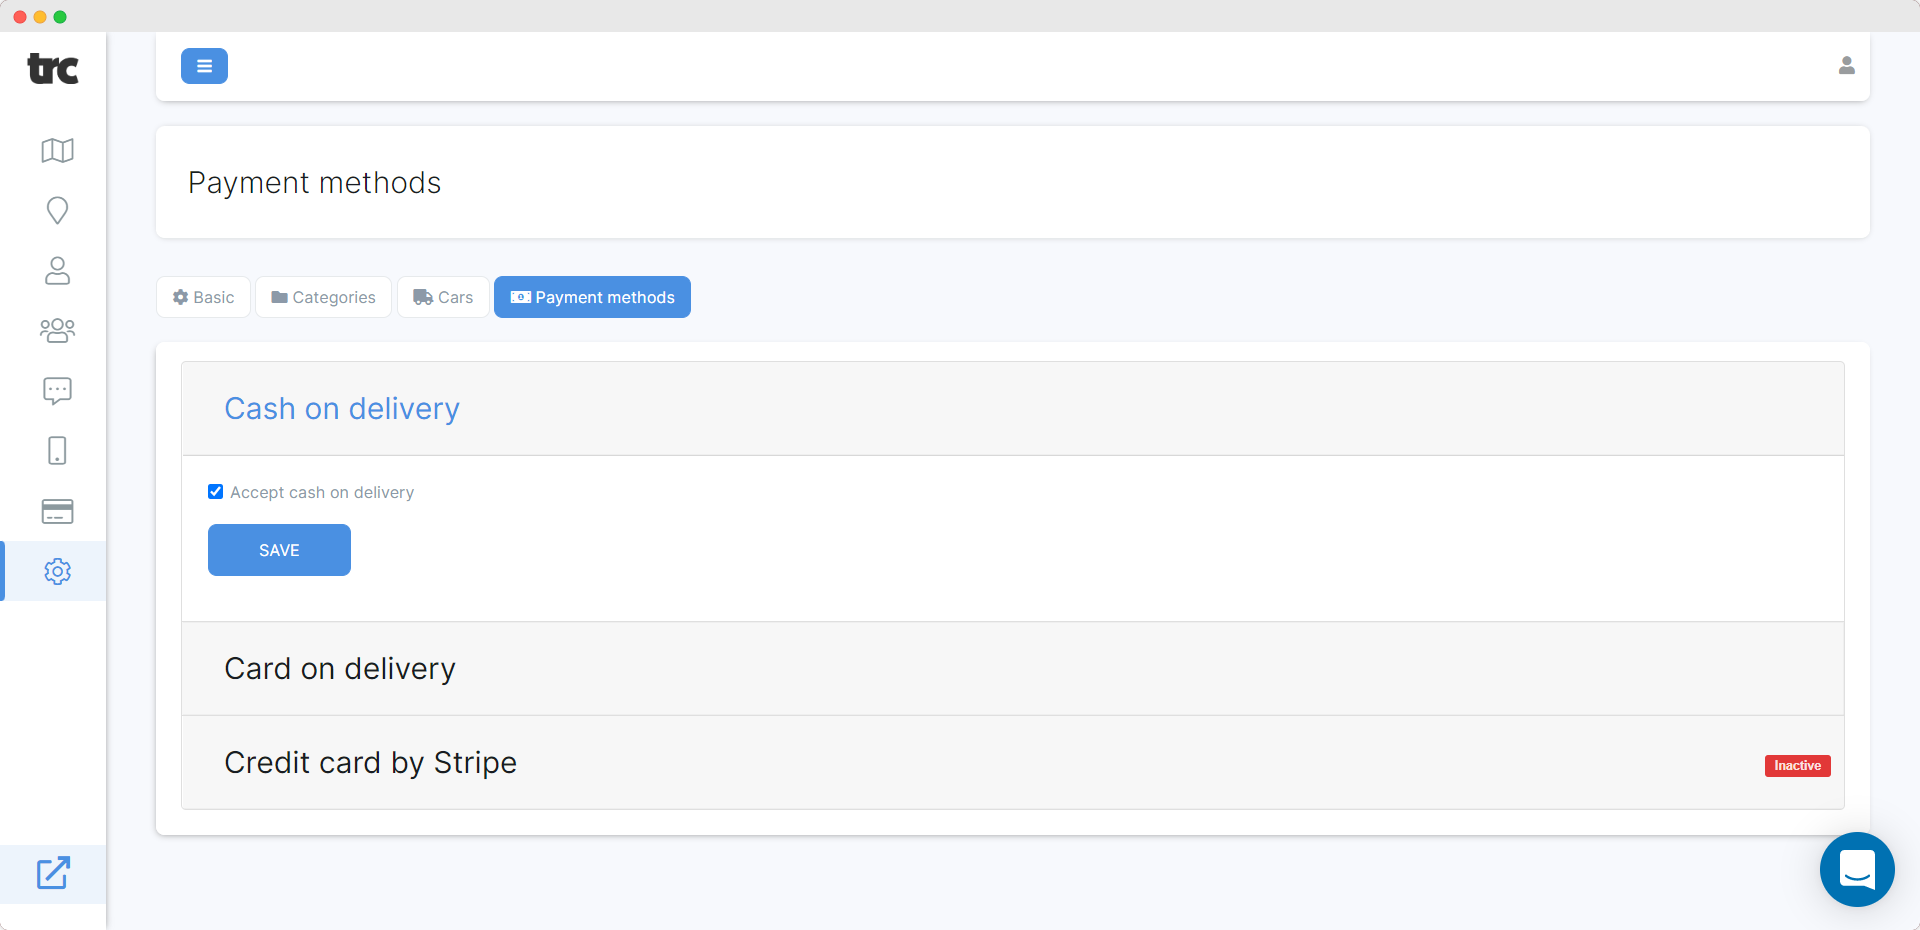
Once categories are created, do not be in a hurry to close the settings - we need to do one more thing here :)
Go to the payment methods tab and choose how your clients can pay for requested delivery tasks. It can be “Cash on delivery”, “Card on delivery”, “Online payment with Stripe”. If you want us to connect another payment gateway, you are always welcome to contact us via Intercom or email and suggest
You can invite drivers to the system manually as described above if you already have a database of your own drivers. Otherwise, you can attract them from outside. You can make an attractive landing page, promote it on the Internet and allow drivers from outside to apply for a position on
After you’ve completed the previous steps - your marketplace becomes fully functional and ready to work. However, you still have plenty options for customization. Add your own logo, center the map on the city of your main activity etc. Just keep exploring the system!
Of course, no one restricts you from using external and internal logistic system simultaneously. It is always your choice :)